We’re a scant two days away from
Insomniac’s previous games include robust, feature-rich Photo Modes, giving players free rein to freeze the on-screen action, find a great angle, customize, and capture a memorable shot. Marvel’s Spider-Man 2 is no different. I’ve spentsome a lot of time tinkering in its Photo Mode the past few weeks. For virtual photographers (especially for those of you who submit such excellent shots to PS Blog’s Share of the Week series), here’s what’s returning, what’s new or improved, plus some suggestions on using those options to snap your way across Marvel’s New York City. There’s also additional information and tips from Insomniac’s Aaron Jason Espinoza in addition to a sampling of the studio’s own snaps to inspire you.
Note: no story spoilers here, outside what has been revealed for the game in trailers or hands-on thus far.
Peter and Miles’ suits will tear and rip if you get bodied during combat. Turn any L into a W by using the punished look in snaps to add extra intensity.
Shortcut to Photo Mode
First things first: Marvel’s Spider-Man 2 lets you assign shortcuts to certain menu options by mapping them to either the left or right D-Pad button. You can equally tap the Options button to call up the pause menu and scroll down to and activate Photo Mode there. My preference is to have my Photo Mode options ready in a blink when I spot a great visual. If virtual photography is a key focus during your time in Marvel’s New York, map that as soon as you can. You could also map a complementary action to the other shortcut – I’ll get to that in a bit.
Menus and their options
If you’re coming from the previous two games, the Photo Mode UI and menu options will be familiar.
You’ll default to Camera Mode, L1 and R1 switching you between four tabs. First is Camera, letting you turn Hero or Enemy visibility off, play or pause visual effects (such as moving lights, smoke or the subtle rippling motion of the Black Suit). You can garb Peter or Miles in any unlocked Suits and Suit Styles and tilt the camera. A new Precision option will greatly lower the response on your analog stick movements or trigger pulls, allowing finer adjustments to get your camera positioning just so. Use this to get your final composition just right.
The Lens tab changes Field of View (think close-up portrait or wide-angle landscape scene) and Exposure. This menu also lets you set your Depth of Field tinkering between Aperture, DOF Range Near and DOF Aperture Near. It means you can have background and foreground blurred if you want the eye focused on the scene or figure in the middle-distance. Filters and Frames are self-explanatory, with Filters from the previous games returning, and Frames featuring new Marvel’s Spider-Man 2 specific styles. The last tab, Overlays, introduces Vignette, Film Grain and Sharpening to your chosen image.
Tapping Square will switch you over to three other menus. Character Mode (letting you choose from a shortlist of preset poses that are character specific, rotate those poses and change your character’s facial expression). You can tailor your lighting setups with Lighting Mode, offering three independent lights (in Spot Light or Sphere Light versions) and the ability to fine-tune the natural lighting of a scene (locked to whatever time of day you’re currently playing in). Sticker Mode has four different subsets of sticker types that can be moved, resized and plastered onto your shot. I’ll leave the specifics of what those are to be discovered: there are some fun ones that’ll appeal to long-time comic fans.
Finally, two key options. Triangle hides the UI. Doing so also locks the menu to make sure you don’t accidentally lose your setup. But if you do want to reset everything, reactivate the menu then hit the Touchpad.
“I wanted to share my personal new favorite addition that’ll be available soon – Action Figure mode! Arriving in a future update (release date TBA) , this option will scale down your hero, making them appear in the world as tiny little figures! Place them on tables, signs, or almost anywhere!” – Aaron Jason Espinoza
Now, let’s talk about taking advantage of all the above.
Adjusting Game Speed
So, that other shortcut. Aside from Photo Mode, there’s a multitude of other options for the extra button: open the FNSM App (to quick select missions) toggle on the in-game Camera Gadget (to snap side-activity specific shots). You can also map some of
Two acrobatic Spider-Men captured at the perfect angle of their swing, thanks to activating Game Speed adjustment. For both, I positioned Artificial Lighting in front of them to illuminate their previously-shadow covered forms. For Peter, I also adjusted the Depth of Field to infer the heavy city traffic below, but not have it distract from the focus of the shot.
“You know, I’m somewhat of a virtual photographer myself… so I always urge players to adjust their lens! Adjusting Aperture and Focus Distance can add a ton of dimension to your photos. Meanwhile, a higher field of view (FoV) can produce great landscape shots, while narrow FoV can accentuate finer details. The slightest changes here can upgrade your photo from a mere screenshot to a masterful piece of virtual photography.” – Aaron Jason Espinoza
Using custom poses, Artificial Lighting options, and reframing
You can use artificial lighting to increase the intensity, infer game world lighting to still highlight characters that’d otherwise be in shadow, or make your photo both more natural and moody.
The photo of Miles below is captured in the same moment as the shot of him above. I liked how his figure was lit in the original (single, high-intensity light positioned at his front), but I thought I could better infer – and incorporate – the billboard lighting of Times Square. But first, I fired up the Character Mode to choose a new pose. Worth noting: there are separate pose sets when on the ground or in the air. I spun the first artificial light from his front to his side, then activated two others and positioned them similarly. I altered the coloring of all three to better match the output of the billboards behind. The resultant silhouette shot – bathed and framed by the lights of Time Square – is much better.
It’s worth noting there are separate custom pose sets on the ground and in the air. Fun Easter Egg: Miles’ aerial poses include one that mirrors the key art from Marvel’s Spider-Man: Miles Morales. Another note: rather than being halted by one end of the Tilt option bar or the other in Camera Mode, you can keep spinning, as it resets to the other side automatically if you keep left or right on the D-Pad when held down.
“Experiment with Spot Lights and Sphere Lights and make your subjects pop in to frame! We always recommend using at least one Spot Light to get a nice rim light on your subject, which can cast a luminescent outline to their silhouette or separate them from the background.” – Aaron Jason Espinoza
Peter Parker sitting, admiring the rides of Coney Island. The camera’s generous in how far you can pull it out from your playable character. Coupled with FOV you can capture some great landscape shots. Originally Pete was in shadow, so I added a spotlight and moved it high overhead, to suggest he was being illuminated by the street lamp above him. This is also a great way to draw attention to a specific character in a crowded scene. Tip: if you want your character’s attention seemingly captured by something/someone in frame, turn the right stick’s camera in that direction – and therefore their gaze – before jumping into Photo Mode.
There’s a marked difference in a shot depending on the positioning and intensity of your artificial light. To the left, a Sphere Light just out of frame, positioned to outline Peter’s silhouette. The color intensity is pulled right down to appear white, and suggest he’s lit by the moon’s glow. There’s a totally different vibe on the right, as the Light is switched from Sphere to Spot, and the intensity cranked right up. The left is a moody, nighttime shot that showcases the ambient light of the city behind. Peter is the focus of the frame as Photo Mode automatically adjusts the background lighting.
Before you exit Photo Mode, swing the camera around – you may spot a background detail you hadn’t considered and gives you a different dynamic to your shot. The above is shot in the same place as the original pair: I angled the camera round and spotted the sun’s set illuminating the water below. Thanks to Custom Pose rotation, I could ‘swing’ Peter round with a few taps so he was again facing the camera.
Rotating Custom Poses can give the illusion your playable character is included in an NPC scene, rather than observing it. Here, switching to Custom Pose meant Miles ‘hovered’ near the bench. A few taps and boom – he’s sitting, absorbed in the conversation. A natural shot.
“We have more enhancements planned for pose movement in a future update (release date TBA)!” – Aaron Jason Espinoza
Another example of considering a reframe to enrich a photo. Same scene as the above two but bringing the camera to an isometric view pulls the focus to the speaker of the scene, rather than their spandex-clad listener.
Look around to capture the flavor of Marvel’s New York
Marvel’s New York is teeming with life. Be it street side or rooftop, school or festival, there’s plenty to capture outside combat and big story beats, from candid snaps of friends talking, portraits of key characters, or taking the time to grab a memory of an enemy takedown. So: keep your eyes out while patrolling and get your feet on the street. Not shown here: spectacular art exhibitions and statues dotted throughout the city, which are also worth a photo tour.
Using environmental lighting, colored backgrounds, filters
Don’t overlook environmental or in-game artificial lighting. Over the course of the game you’ll be exploring Manhattan during different times of the day, so create a Manual Save with each switch to easily get back to the sky you need. Equally if you spot a potentially cool moment with lighting you can take advantage of: Manual Save.
If you watched me play, you’d see me gravitate to any new light source with the intensity and single-mindedness of a moth. Below was captured early into the game’s story, as a civilian-clothed Peter walked past a light fixture. Turning his head slightly, I switched to Photo Mode, activated the Noir filter and voila. However, some background detail was still apparent and distracted from the portrait. Chance then to test out the Background option: a shortlist of colored backgrounds that isolate the playable character from the environment. I switched colors (and filter) for an additional, warm yellow approach to the same setup.
“The Filters and Frames and Overlay adjustments are great ways to add character to your captures, such as comic book frames or quick color adjustments. You can also add grain effects to give your shots a print-like quality or increase the sharpness for even finer detail.” – Aaron Jason Espinoza
Bringing it all together
The above brings together in-game lighting and artificial lighting, custom poses and different suits. There’s a side-mission early into the game that involves blacklight-style wall projection. Standing Miles in front of it, then using multiple artificial sphere lights and different filters created this awesome, fashion-like shoot
I hope this quick guide and suggestions for how to use Photo Mode helps and inspires. I’m looking forward to seeing what my fellow photographers create in the coming days and weeks. Happy shooting!
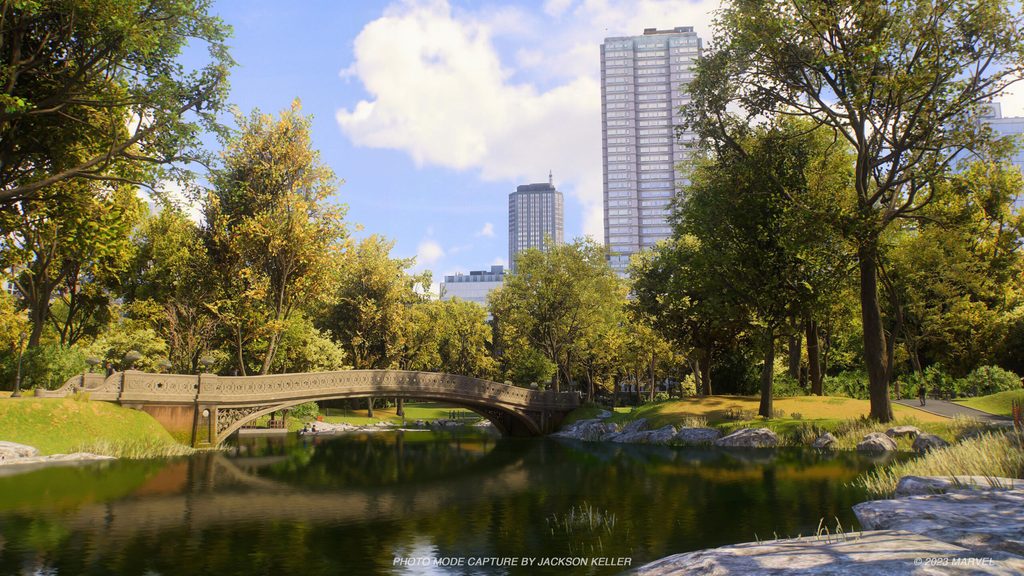
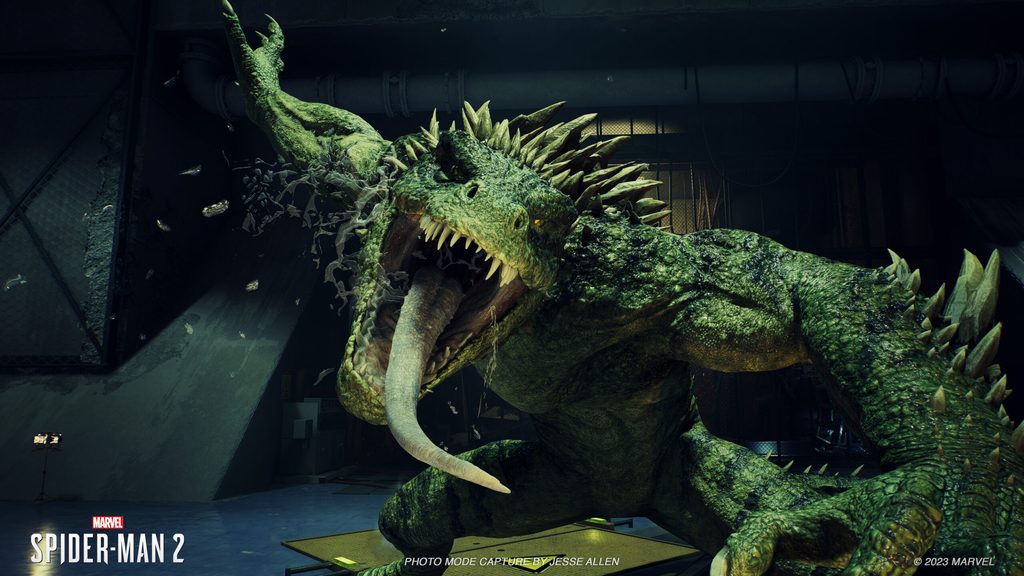
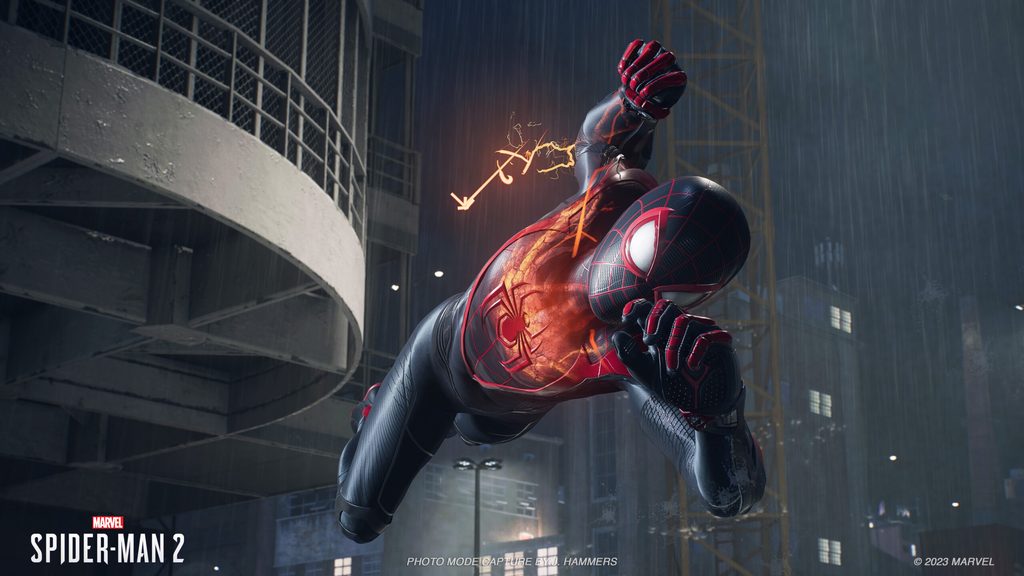
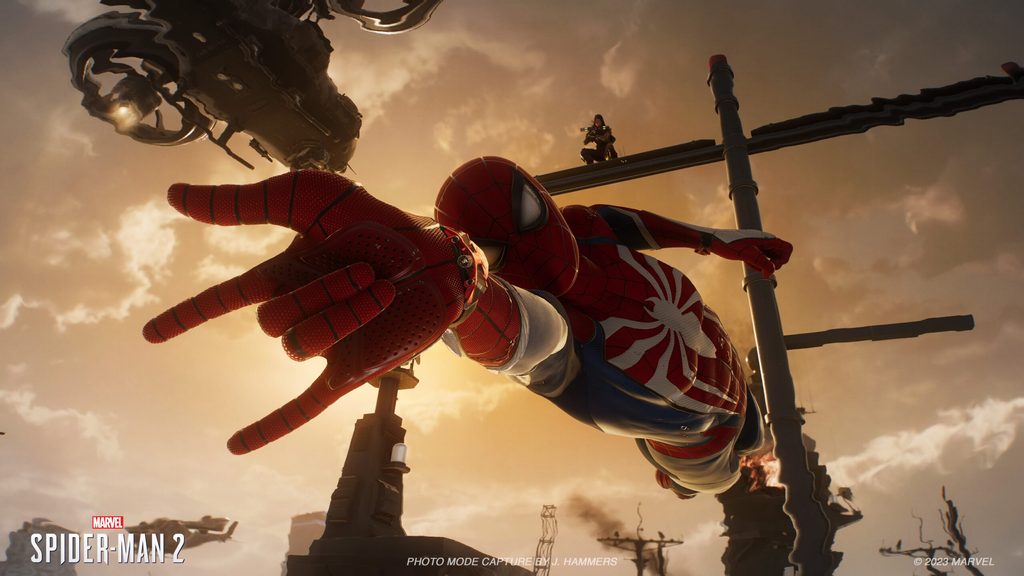
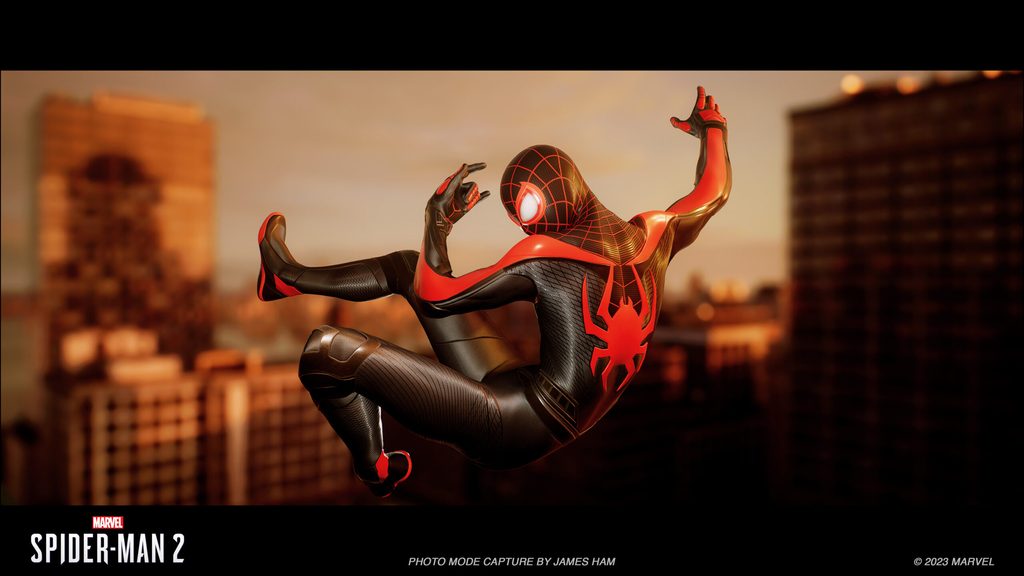
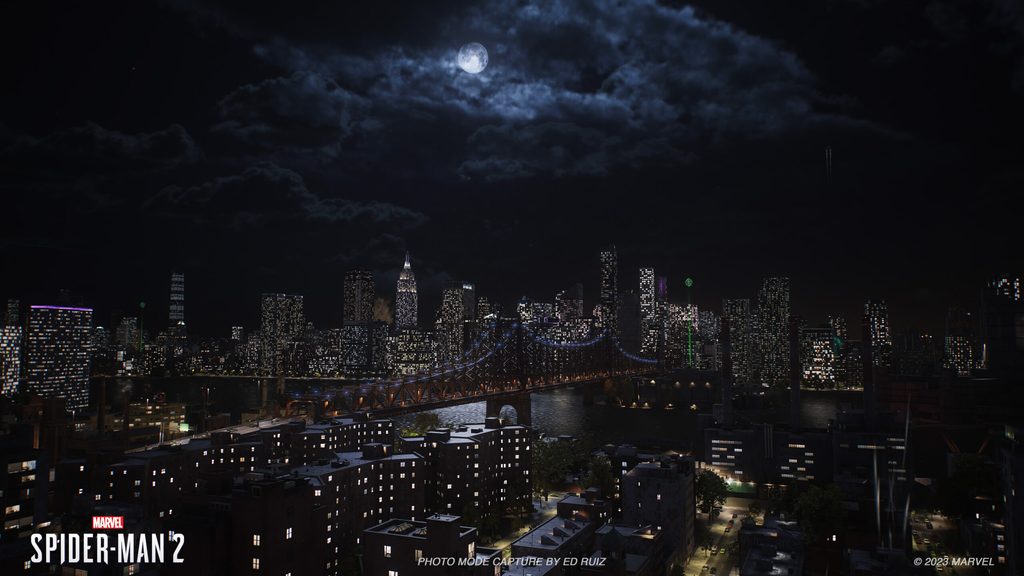
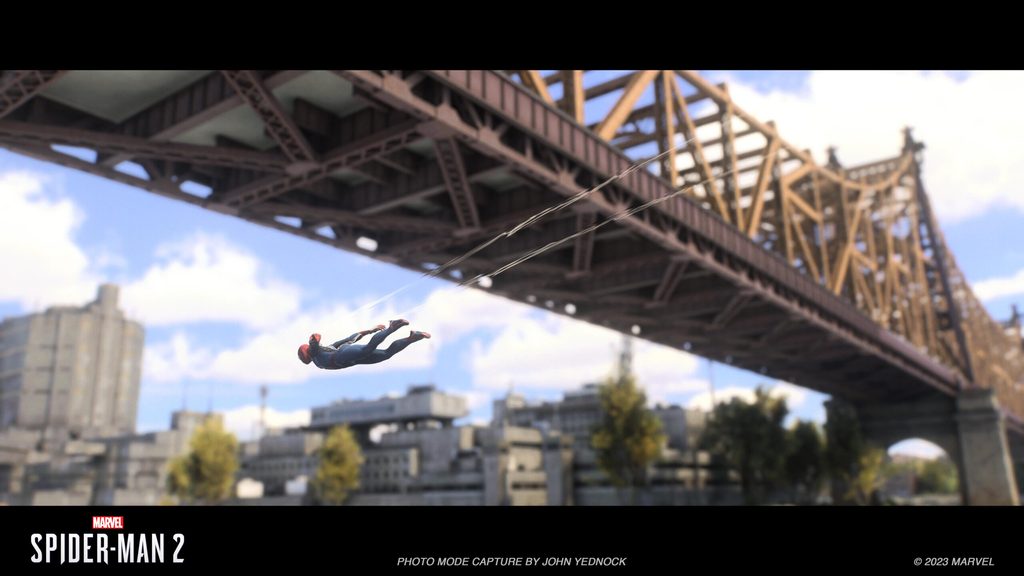
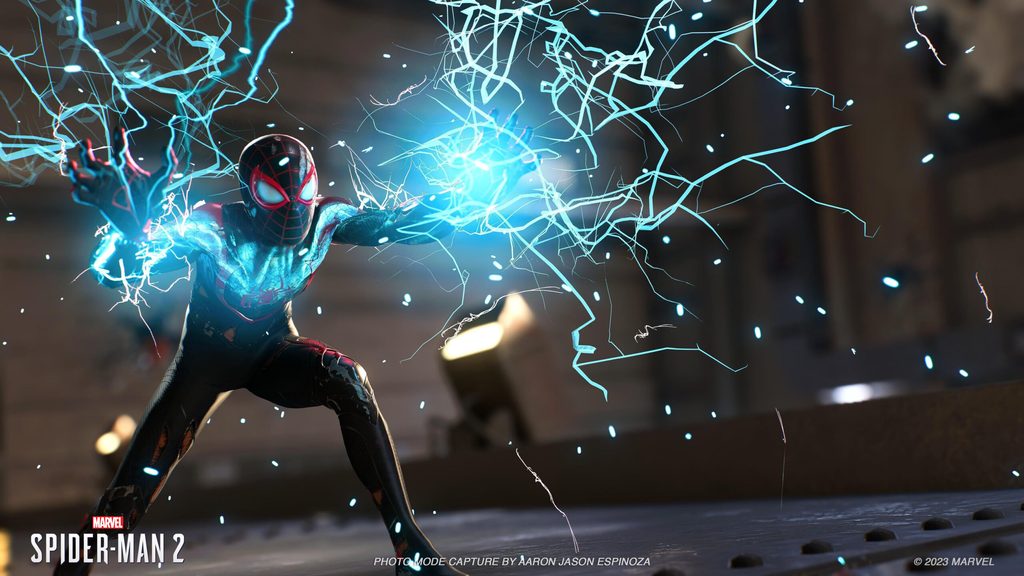
“Anyone can wield the camera. Whether you’re capturing photos of Peter Parker soaring between buildings with Web Wings or getting that electrifying shot of Miles Morales’ new Venom Powers, we look forward to seeing what captures your eye when Marvel’s Spider-Man 2 launches on October 20. Don’t forget to tag us on social media @InsomniacGames and use #InsomGamesCommunity for a chance to be re-shared on our official social media accounts! In anticipation of our upcoming launch, Insomniacs captured a few shots for us! Here’s our studio’s Photo Mode Gallery below!” – Aaron Jason Espinoza
The Empire State Building image® is a registered trademark of ESRT Empire State Building, L.L.C. and is used with permission.
Special thanks to The Madison Square Garden Company. Madison Square Garden, Radio City and Radio City Music Hall are registered trademarks of MSG Sports & Entertainment, LLC or its affiliates.
More on Marvel’s Spider-Man 2
You do not have permission to view link
Log in or register now.
’s launch. Soon we can delve into
You do not have permission to view link
Log in or register now.
.
You do not have permission to view link
Log in or register now.
with the awesome power of the black suit. Encounter new foes and test new abilities. And for some (including myself), the chance to try out the game’s Photo Mode.Insomniac’s previous games include robust, feature-rich Photo Modes, giving players free rein to freeze the on-screen action, find a great angle, customize, and capture a memorable shot. Marvel’s Spider-Man 2 is no different. I’ve spent
Note: no story spoilers here, outside what has been revealed for the game in trailers or hands-on thus far.
You do not have permission to view link
Log in or register now.
Peter and Miles’ suits will tear and rip if you get bodied during combat. Turn any L into a W by using the punished look in snaps to add extra intensity.
Shortcut to Photo Mode
First things first: Marvel’s Spider-Man 2 lets you assign shortcuts to certain menu options by mapping them to either the left or right D-Pad button. You can equally tap the Options button to call up the pause menu and scroll down to and activate Photo Mode there. My preference is to have my Photo Mode options ready in a blink when I spot a great visual. If virtual photography is a key focus during your time in Marvel’s New York, map that as soon as you can. You could also map a complementary action to the other shortcut – I’ll get to that in a bit.
Menus and their options
If you’re coming from the previous two games, the Photo Mode UI and menu options will be familiar.
You’ll default to Camera Mode, L1 and R1 switching you between four tabs. First is Camera, letting you turn Hero or Enemy visibility off, play or pause visual effects (such as moving lights, smoke or the subtle rippling motion of the Black Suit). You can garb Peter or Miles in any unlocked Suits and Suit Styles and tilt the camera. A new Precision option will greatly lower the response on your analog stick movements or trigger pulls, allowing finer adjustments to get your camera positioning just so. Use this to get your final composition just right.
The Lens tab changes Field of View (think close-up portrait or wide-angle landscape scene) and Exposure. This menu also lets you set your Depth of Field tinkering between Aperture, DOF Range Near and DOF Aperture Near. It means you can have background and foreground blurred if you want the eye focused on the scene or figure in the middle-distance. Filters and Frames are self-explanatory, with Filters from the previous games returning, and Frames featuring new Marvel’s Spider-Man 2 specific styles. The last tab, Overlays, introduces Vignette, Film Grain and Sharpening to your chosen image.
Tapping Square will switch you over to three other menus. Character Mode (letting you choose from a shortlist of preset poses that are character specific, rotate those poses and change your character’s facial expression). You can tailor your lighting setups with Lighting Mode, offering three independent lights (in Spot Light or Sphere Light versions) and the ability to fine-tune the natural lighting of a scene (locked to whatever time of day you’re currently playing in). Sticker Mode has four different subsets of sticker types that can be moved, resized and plastered onto your shot. I’ll leave the specifics of what those are to be discovered: there are some fun ones that’ll appeal to long-time comic fans.
Finally, two key options. Triangle hides the UI. Doing so also locks the menu to make sure you don’t accidentally lose your setup. But if you do want to reset everything, reactivate the menu then hit the Touchpad.
You do not have permission to view link
Log in or register now.
“I wanted to share my personal new favorite addition that’ll be available soon – Action Figure mode! Arriving in a future update (release date TBA) , this option will scale down your hero, making them appear in the world as tiny little figures! Place them on tables, signs, or almost anywhere!” – Aaron Jason Espinoza
Now, let’s talk about taking advantage of all the above.
Adjusting Game Speed
So, that other shortcut. Aside from Photo Mode, there’s a multitude of other options for the extra button: open the FNSM App (to quick select missions) toggle on the in-game Camera Gadget (to snap side-activity specific shots). You can also map some of
You do not have permission to view link
Log in or register now.
the game includes to the Shortcuts. One of those is reducing game speed to 70%, 50% or even 30%. This has a secondary yet equally super useful benefit when it comes to virtual photography: more easily capturing the perfect combat composition or mid-web-swing pose.
You do not have permission to view link
Log in or register now.
You do not have permission to view link
Log in or register now.
Two acrobatic Spider-Men captured at the perfect angle of their swing, thanks to activating Game Speed adjustment. For both, I positioned Artificial Lighting in front of them to illuminate their previously-shadow covered forms. For Peter, I also adjusted the Depth of Field to infer the heavy city traffic below, but not have it distract from the focus of the shot.
“You know, I’m somewhat of a virtual photographer myself… so I always urge players to adjust their lens! Adjusting Aperture and Focus Distance can add a ton of dimension to your photos. Meanwhile, a higher field of view (FoV) can produce great landscape shots, while narrow FoV can accentuate finer details. The slightest changes here can upgrade your photo from a mere screenshot to a masterful piece of virtual photography.” – Aaron Jason Espinoza
Using custom poses, Artificial Lighting options, and reframing
You can use artificial lighting to increase the intensity, infer game world lighting to still highlight characters that’d otherwise be in shadow, or make your photo both more natural and moody.
The photo of Miles below is captured in the same moment as the shot of him above. I liked how his figure was lit in the original (single, high-intensity light positioned at his front), but I thought I could better infer – and incorporate – the billboard lighting of Times Square. But first, I fired up the Character Mode to choose a new pose. Worth noting: there are separate pose sets when on the ground or in the air. I spun the first artificial light from his front to his side, then activated two others and positioned them similarly. I altered the coloring of all three to better match the output of the billboards behind. The resultant silhouette shot – bathed and framed by the lights of Time Square – is much better.
You do not have permission to view link
Log in or register now.
It’s worth noting there are separate custom pose sets on the ground and in the air. Fun Easter Egg: Miles’ aerial poses include one that mirrors the key art from Marvel’s Spider-Man: Miles Morales. Another note: rather than being halted by one end of the Tilt option bar or the other in Camera Mode, you can keep spinning, as it resets to the other side automatically if you keep left or right on the D-Pad when held down.
“Experiment with Spot Lights and Sphere Lights and make your subjects pop in to frame! We always recommend using at least one Spot Light to get a nice rim light on your subject, which can cast a luminescent outline to their silhouette or separate them from the background.” – Aaron Jason Espinoza
You do not have permission to view link
Log in or register now.
Peter Parker sitting, admiring the rides of Coney Island. The camera’s generous in how far you can pull it out from your playable character. Coupled with FOV you can capture some great landscape shots. Originally Pete was in shadow, so I added a spotlight and moved it high overhead, to suggest he was being illuminated by the street lamp above him. This is also a great way to draw attention to a specific character in a crowded scene. Tip: if you want your character’s attention seemingly captured by something/someone in frame, turn the right stick’s camera in that direction – and therefore their gaze – before jumping into Photo Mode.
You do not have permission to view link
Log in or register now.
You do not have permission to view link
Log in or register now.
There’s a marked difference in a shot depending on the positioning and intensity of your artificial light. To the left, a Sphere Light just out of frame, positioned to outline Peter’s silhouette. The color intensity is pulled right down to appear white, and suggest he’s lit by the moon’s glow. There’s a totally different vibe on the right, as the Light is switched from Sphere to Spot, and the intensity cranked right up. The left is a moody, nighttime shot that showcases the ambient light of the city behind. Peter is the focus of the frame as Photo Mode automatically adjusts the background lighting.
You do not have permission to view link
Log in or register now.
You do not have permission to view link
Log in or register now.
Before you exit Photo Mode, swing the camera around – you may spot a background detail you hadn’t considered and gives you a different dynamic to your shot. The above is shot in the same place as the original pair: I angled the camera round and spotted the sun’s set illuminating the water below. Thanks to Custom Pose rotation, I could ‘swing’ Peter round with a few taps so he was again facing the camera.
You do not have permission to view link
Log in or register now.
You do not have permission to view link
Log in or register now.
Rotating Custom Poses can give the illusion your playable character is included in an NPC scene, rather than observing it. Here, switching to Custom Pose meant Miles ‘hovered’ near the bench. A few taps and boom – he’s sitting, absorbed in the conversation. A natural shot.
“We have more enhancements planned for pose movement in a future update (release date TBA)!” – Aaron Jason Espinoza
You do not have permission to view link
Log in or register now.
Another example of considering a reframe to enrich a photo. Same scene as the above two but bringing the camera to an isometric view pulls the focus to the speaker of the scene, rather than their spandex-clad listener.
Look around to capture the flavor of Marvel’s New York
You do not have permission to view link
Log in or register now.
You do not have permission to view link
Log in or register now.
You do not have permission to view link
Log in or register now.
Marvel’s New York is teeming with life. Be it street side or rooftop, school or festival, there’s plenty to capture outside combat and big story beats, from candid snaps of friends talking, portraits of key characters, or taking the time to grab a memory of an enemy takedown. So: keep your eyes out while patrolling and get your feet on the street. Not shown here: spectacular art exhibitions and statues dotted throughout the city, which are also worth a photo tour.
Using environmental lighting, colored backgrounds, filters
Don’t overlook environmental or in-game artificial lighting. Over the course of the game you’ll be exploring Manhattan during different times of the day, so create a Manual Save with each switch to easily get back to the sky you need. Equally if you spot a potentially cool moment with lighting you can take advantage of: Manual Save.
If you watched me play, you’d see me gravitate to any new light source with the intensity and single-mindedness of a moth. Below was captured early into the game’s story, as a civilian-clothed Peter walked past a light fixture. Turning his head slightly, I switched to Photo Mode, activated the Noir filter and voila. However, some background detail was still apparent and distracted from the portrait. Chance then to test out the Background option: a shortlist of colored backgrounds that isolate the playable character from the environment. I switched colors (and filter) for an additional, warm yellow approach to the same setup.
You do not have permission to view link
Log in or register now.
You do not have permission to view link
Log in or register now.
“The Filters and Frames and Overlay adjustments are great ways to add character to your captures, such as comic book frames or quick color adjustments. You can also add grain effects to give your shots a print-like quality or increase the sharpness for even finer detail.” – Aaron Jason Espinoza
You do not have permission to view link
Log in or register now.
Bringing it all together
You do not have permission to view link
Log in or register now.
You do not have permission to view link
Log in or register now.
The above brings together in-game lighting and artificial lighting, custom poses and different suits. There’s a side-mission early into the game that involves blacklight-style wall projection. Standing Miles in front of it, then using multiple artificial sphere lights and different filters created this awesome, fashion-like shoot
. Switching to the (newly announced) Brooklyn 2099 Suit demonstrates how the metallic surface reflects the lights, adding additional glow and detail to the same photograph
.
I hope this quick guide and suggestions for how to use Photo Mode helps and inspires. I’m looking forward to seeing what my fellow photographers create in the coming days and weeks. Happy shooting!
You do not have permission to view link
Log in or register now.
You do not have permission to view link
Log in or register now.
You do not have permission to view link
Log in or register now.
You do not have permission to view link
Log in or register now.
You do not have permission to view link
Log in or register now.
“Anyone can wield the camera. Whether you’re capturing photos of Peter Parker soaring between buildings with Web Wings or getting that electrifying shot of Miles Morales’ new Venom Powers, we look forward to seeing what captures your eye when Marvel’s Spider-Man 2 launches on October 20. Don’t forget to tag us on social media @InsomniacGames and use #InsomGamesCommunity for a chance to be re-shared on our official social media accounts! In anticipation of our upcoming launch, Insomniacs captured a few shots for us! Here’s our studio’s Photo Mode Gallery below!” – Aaron Jason Espinoza
The Empire State Building image® is a registered trademark of ESRT Empire State Building, L.L.C. and is used with permission.
Special thanks to The Madison Square Garden Company. Madison Square Garden, Radio City and Radio City Music Hall are registered trademarks of MSG Sports & Entertainment, LLC or its affiliates.
More on Marvel’s Spider-Man 2
You do not have permission to view link
Log in or register now.
You do not have permission to view link
Log in or register now.
You do not have permission to view link
Log in or register now.
You do not have permission to view link
Log in or register now.
You do not have permission to view link
Log in or register now.
You do not have permission to view link
Log in or register now.
You do not have permission to view link
Log in or register now.
You do not have permission to view link
Log in or register now.
You do not have permission to view link
Log in or register now.
You do not have permission to view link
Log in or register now.
You do not have permission to view link
Log in or register now.
You do not have permission to view link
Log in or register now.